Home-Made Cronuts
So the other day, I made Cronuts. What’s a Cronut you ask? It’s a donut with the awesome crispy layers of a croissant. My motivation to make these? They are rare to find (in Perth) and they can cost anywhere between $5 to $10 EACH! When I made a batch, it made at least 6 Cronuts and cost way less than what 6 Cronuts would cost at the shops.
The original Cronut recipe is so technical and precise it reads more like a science experiment than a recipe! Making Cronuts is really finicky and no two batches are the same unless you can replicate the same temperatures. Many pastry lovers who have attempted to make Cronuts at home have written that it was too hard and that they were not successful at first attempt so please be mentally prepared for this to happen. Temperature in proving, folding techniques and rest times are very important with this recipe; it is probably why it takes as long as it does and why it costs a lot to buy at the bakery.
I debated whether to share this recipe: I wanted to share it because I know it works but at the same time, I also didn’t want to share it because it may not always work as so many factors influence its success. So for this reason I cannot always guarantee the perfect Cronut when using this recipe. However if you’re like me, despite all the suggestions to not bother trying, I still tried anyway and I loved the feeling of satisfaction when I got it right (even if it took me so many times); crispy, buttery and flakey home-made Cronuts.
I have provided as much notes as I can for this recipe to be successful for you. I would recommend reading the recipe and notes in its entirety before commencing. Now I am no pastry chef by any means but I think these Cronuts taste great for something home-made. Good luck in making it 🙂

Prep and Cooking Time – 2 days | Serves – 8-10 Cronuts
INGREDIENTS
EQUIPMENT
METHOD
Add flour, sugar, salt and butter into TM bowl. Pulse 0.5 secs / Turbo two times. You want to see chunks of butter in this mixture. Set aside and clean TM bowl.

Add milk, water and yeast into TM bowl and mix 2 mins / 37oC / speed 2. When finish, mix a further 3 sec / speed 3.
Return reserved flour and butter mixture and combine with the yeast 8 sec /  / speed 2. Empty out the dough and very quickly work it into a ball. Leave the dough in a bowl and let it sit in the fridge (uncovered) for 2 hours for the butter to harden.

Roll out the rested dough on a floured surface. Seeing chunks of butter in the dough is a good sign! You want to roll your dough out to the size of an A4 paper of about 1cm thickness. As you reach this size, fold the dough into thirds (like a pamphlet), roll out the dough into the size of an A4 paper again and repeat the folding / rolling process. You may need to continue dusting your dough with flour in between folding if it starts to become sticky. This is the layering stage so the more times you do this, the more chances of layers; I did this process around 6-8 times.


Do one last fold then cover the dough in cling wrap and leave in the fridge to rest overnight (absolute minimum 5 hours).

Take out your rested dough and leave on the kitchen bench to continue resting for half an hour at room temperature. Proceed to roll out your rested dough once more to a thickness of no less than 1cm. Use your donut cutter to shape your Cronuts.

Lay your cut out Conuts onto a floured tray and leave to rise again for at least another hour. If you have an oven that proves dough at 40oC this would be ideal. The Cronuts only need to rise slightly as they will puff when being fried.

After resting your Cronuts, warm up a few centimetres of oil in a frying pan on medium heat. If you have a thermometer, the ideal temperature of your oil should be 170oC. Fry Cronuts on each side until puffed up and golden brown (approximately 2 minutes) before flipping over and cooking the other side. When done, transfer onto a kitchen tea towel and dust with vanilla sugar.

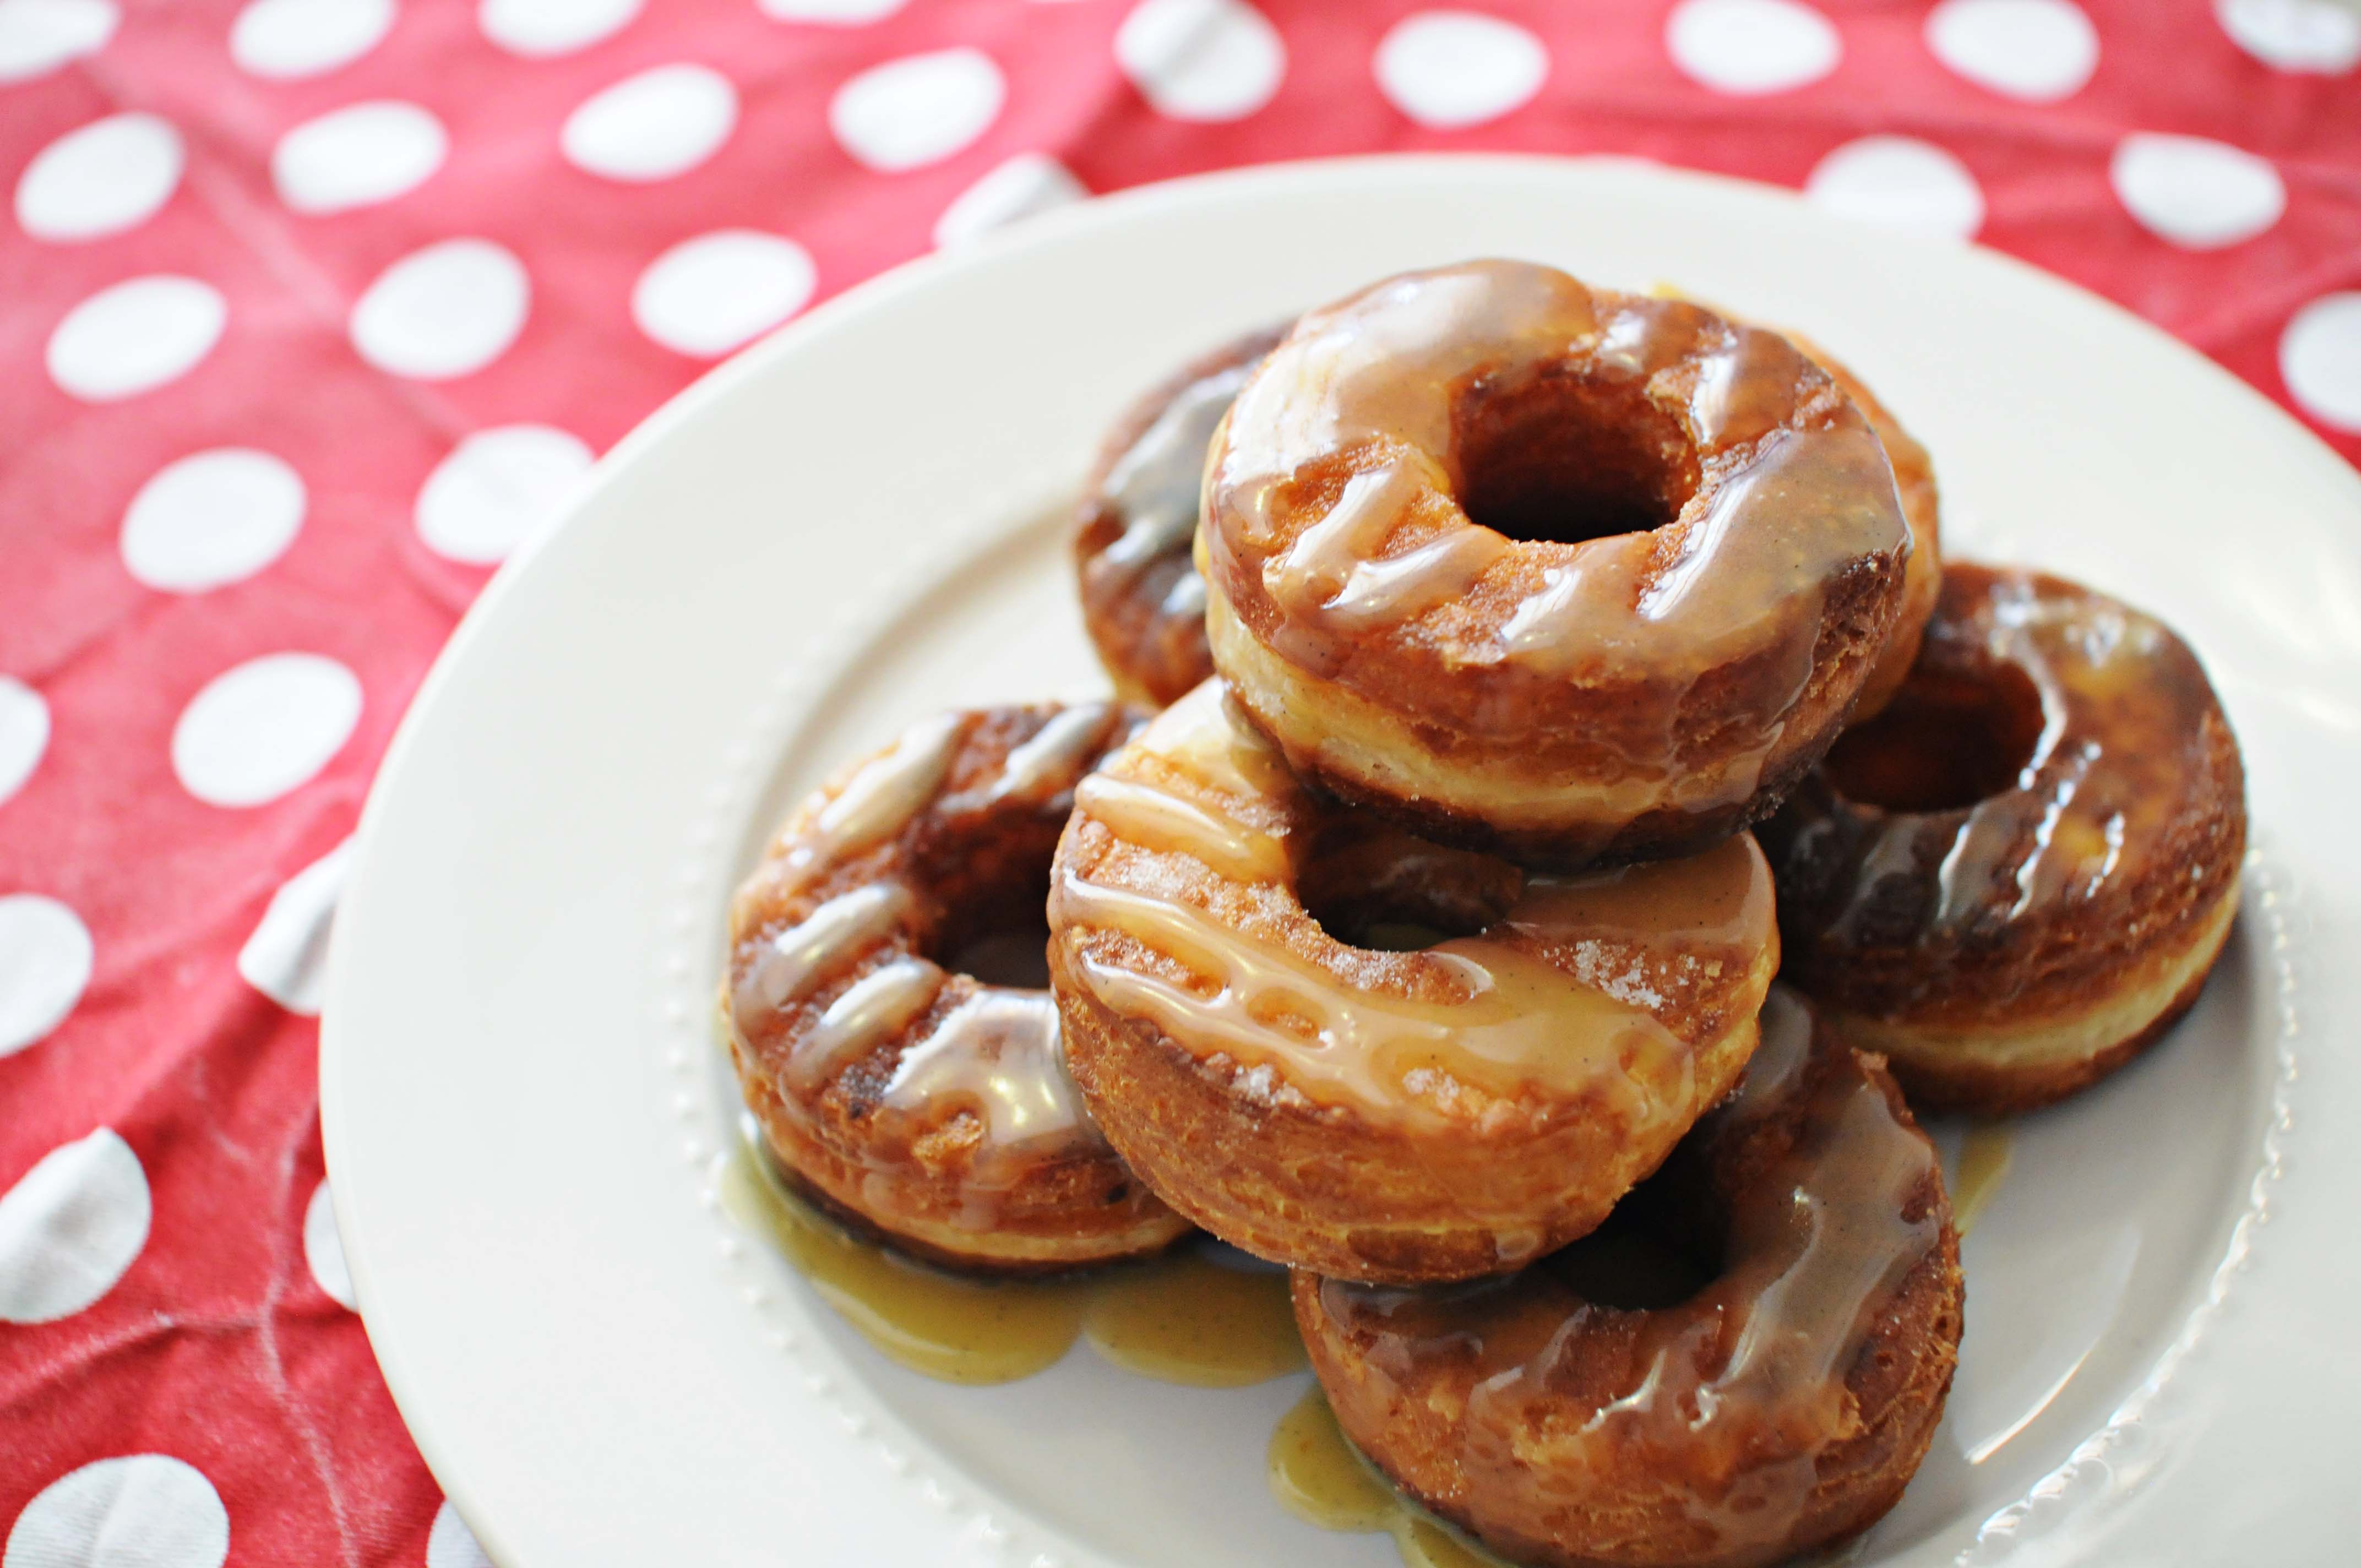
Leave your Cronuts to continue to drain any excess oils. Once cooled, you can fill your Cronuts with your desired filling (Vanilla custard comes to mind) before glazing it with your chosen icing. Enjoy!

NOTES AND VARIATIONS
It is important to ensure the cubed butter in your ingredients list is not cut up too small; you need chunky blocks of butter in your dough. Throughout the process, you need to try and keep those chunks of butter in tact within the dough. When it comes to proving your Cronut dough, you need to ensure they prove in an area where the dough can relax and rise, but not be too hot to melt your butter chunks.
I have not substituted either flour for anything else so I am not sure what would happen if these changed.
I glazed my Cronuts with Sarah Wong’s Salted Caramel Sauce.
* Recipe inspired and converted from SORTEDfood’s ‘How To Make Cronuts‘ recipe *
Karen
July 7, 2015 at 3:38 pmYum! Photos looks great!
Angela Primmer-Jones
January 15, 2017 at 5:42 pmThese were amazing!! Big hit with hubby and the kids. Your instructions and pics made it so easy to follow. Thanks for going to the effort to make this a thermie friendly recipe ?